Using IDE installer
Note: The installer needs to pull development packages from the internet. Please make sure that your machine has internet connectivity.
Download the IDE installer
The XploR IDE installer is available for Linux and Windows. The installer can be downloaded from the links: https://xplor.studio/release/
There are 2 suffixes corresponding to the operating system:
- XploR-Studio-{VERSION}_linux.run for Linux
- XploR-Studio-{VERSION}_win32.exe for Windows
Start the installer
On Windows
Run the executable installer by right-clicking on the executable XploR-Studio-{VERSION}_win32.exe from the desktop or file manager and selecting Open.
On Linux
Open the terminal and run the installer
./XploR-Studio-{VERSION}_linux.run
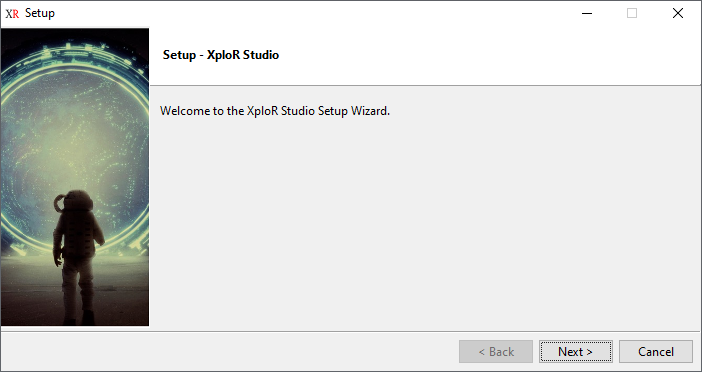
Select the Next button to proceed with the installation.

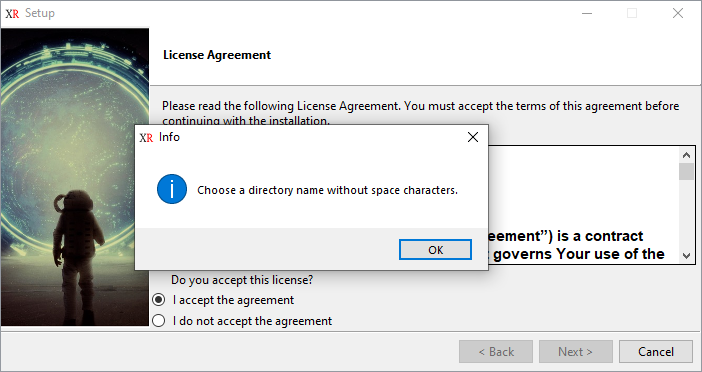
Once Next is selected, you shall be presented with the XploR IDE License Agreement. Review this agreement carefully, then select “I accept the agreement” and Next to continue or Quit to exit.
Once Next is selected, you will see the information: Choose a directory name without space characters.
Please choose a destination path without spaces. If XploR IDE is installed on a location containing spaces, the application build will fail. This is a known issue and will be fixed in a future release. Select OK to continue.
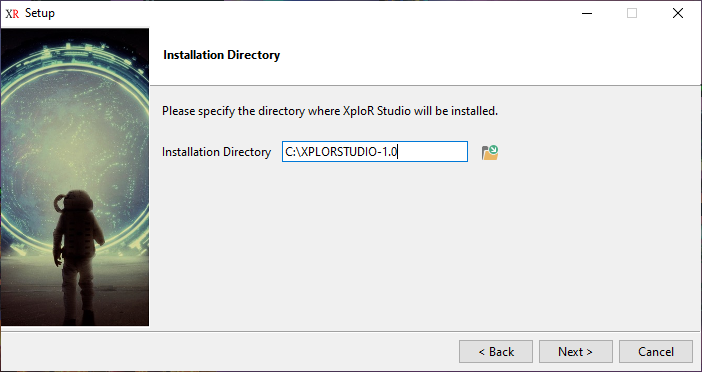
Once OK is selected, the installer presents the installation path. You can choose or enter an alternative. Select Next to continue.
Note: Please choose a destination path that is not available. If XploR IDE is installed in an available location, the data cannot be completely uninstalled. This is a known issue and will be fixed in a future release.
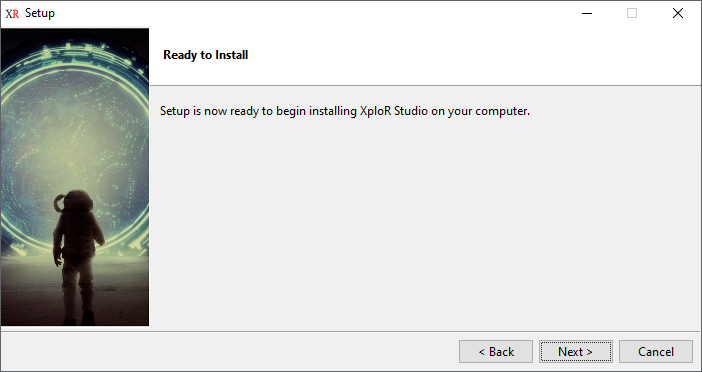
The XploR IDE installer presents a summary of packages to be installed.
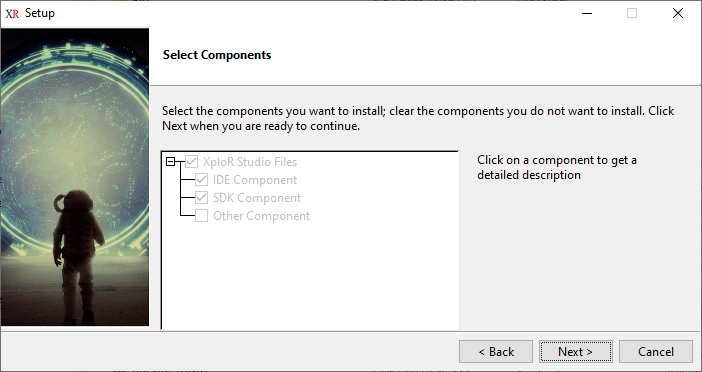
Then select Next to proceed.
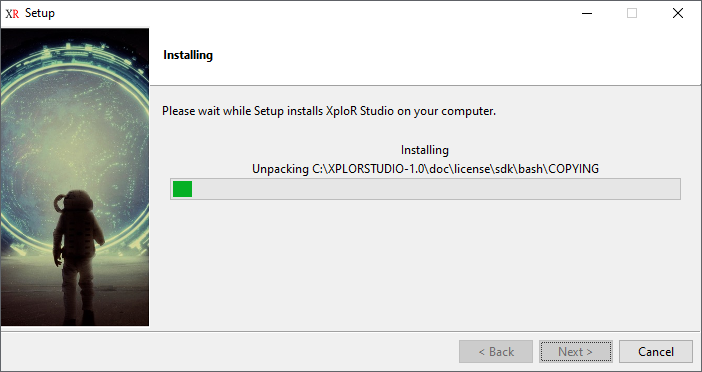
Once Next is selected, the selected packages will be copied into the installation directory.
Select Next to start the installation.
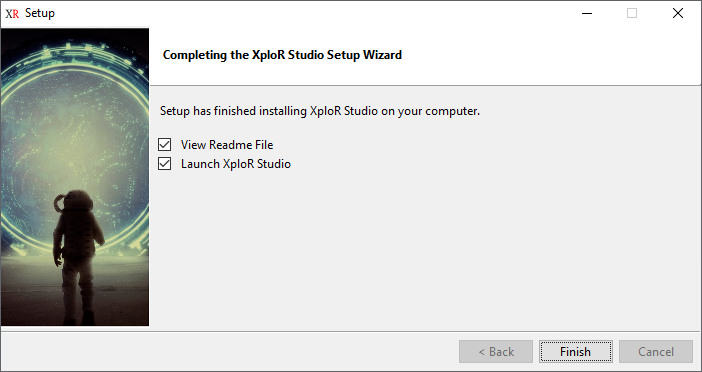
After all the XploR IDE files have been copied, one final dialog is presented below. Select the Finish button to complete the installation of the XploR IDE.
Click OK to launch XploR IDE.
Feedback
Was this page helpful?
Glad to hear it! Please tell us how we can improve.
Sorry to hear that. Please tell us how we can improve.